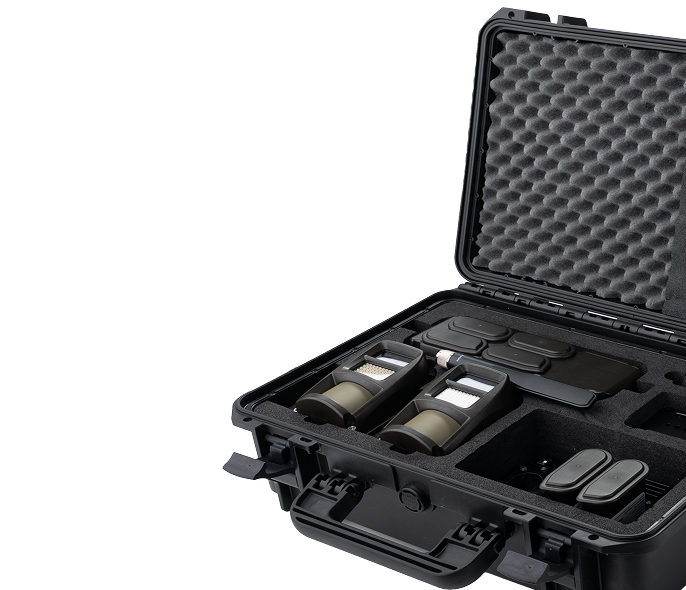

Construction time-lapse with VOSKER Enterprise devices
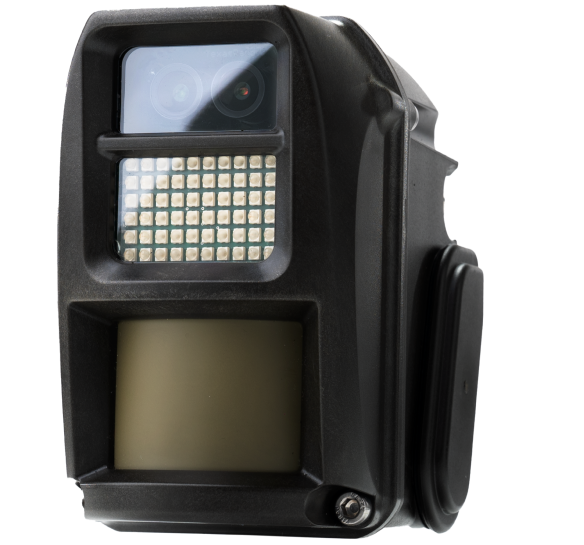
Offer the in-demand time-lapse function with the same rugged hardware as the security system.
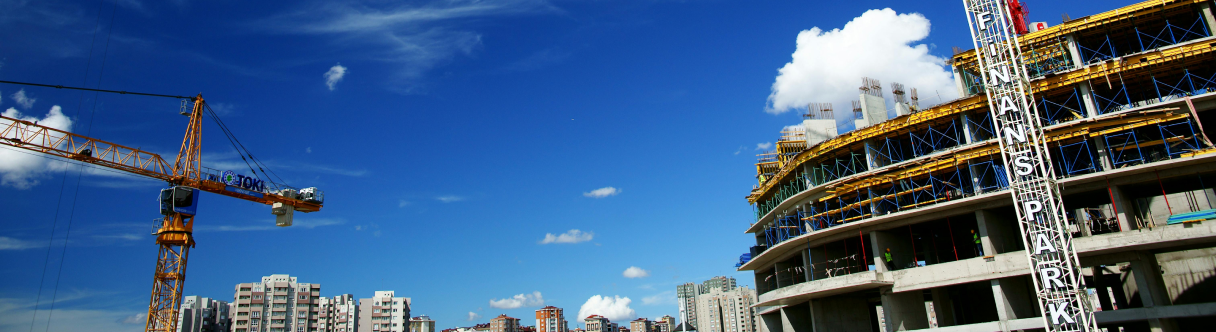
Stunning construction time-lapse videos
Rival any construction time-lapse service provider
- HD quality
- Customizable duration between captures (up to two pictures per hour)
- Sharable link to the time-lapse video (new frames are added continuously)
- Adjustable replay speed (x0.25, x1, x3)
- Downloadable Mp4 video
Frequently asked questions
How do you select time-lapse mode?
- Install the camera and the bridge.
- Log in to the VOSKER Enterprise cloud and click the time-lapse icon in the header.
- Click the “Add Camera” button and select the camera you want to use time-lapse with.
- Set the frequency of the photos.
- Time-lapse is now activated, and the photos will be added to the video.
NB! Please note that only users with Owner and Moderator rights can create and delete time-lapse.
Is time-lapse free?
No, the service comes with an extra fee.
Will the camera that is used for the construction time-lapse service still monitor alarms?
No, when the camera is in time-lapse mode, it will not trigger alarms.
Can I change the time-lapse settings from the VOSKER Enterprise app?
Time-lapse settings are accessible only from the cloud browser, not the app. However, the footage is accessible and shareable with a URL.
Can my time-lapse camera be connected to the same bridge as the other on-site cameras?
Yes it can.
Patner with us
Offer the in-demand construction time-lapse service with the VOSKER Enterprise rugged cameras.